I am really happy with the recent shift in the beauty circles – we stopped talking about high-coverage foundations and heavy make-up and started talking about how to best achieve natural and healthy looking skin. This naturally means that our skin needs a bit more TLC in order to still look good without caking on the foundation. Lately, I’ve been enjoying light coverage foundations and I must say that I am over the matte trend. I want my skin to look fresh and natural. Since I often get asked how I achieve this, I’d like to introduce you to my steps before applying liquid foundation.
Veseli me, da se v zadnjem času v lepotnih krogih pogovor premika od tega, katera tekoča podlaga ima najboljšo prekrivnost in od želje po težkem ličenju k temu, da si želimo naravnega in zdravega videza kože. Seveda to pomeni, da je potrebno za kožo skrbeti, saj le tako lahko z manjšo prekrivnostjo dosežemo super rezultat. Sama se zadnje čase nagibam k podlagam z lahko prekrivnostjo in priznati moram, da me je tudi mat trend minil – želim, da moja koža izgleda naravno in sveže. Ker me pogosto sprašujete, kako to dosežem, vam danes predstavljam moje korake pred nanosom tekoče podlage.

Everything starts with a morning cleanse which includes a liquid gel cleanser (like Mirati, review *here*), a toner (like Bocassy, review *here*) and hialuronic gel. Now, my skin is ready to start with the pre-foundation routine. First, I need to moisturize my skin really well so I use three different products. First is the Melvita damaske rose floral water which I spray on my face a couple of times. Besides the lovely smell that really wakes me up in the morning, this is the first step of hydration. I follow up with some sun protection – at the moment, I’m finishing up the Avon moisturizing face cream with SPF 30. Protection against the sun is necessary all year long, not only in the summer months so it’s necessary that you include a product with a high SPF factor (in my opinion, factor 10 from many liquid foundation formulations just doesn’t cut it). Since I feel that Avon cream is somewhat lacking in the moisturizing bit, I end up the first step with the Yves Rocher Derma Care daily moisturizer which is also appropriate for sensitive skin. I give special attention to the under-eye area which prevents my concealer from caking later on. I give my skin a few minutes to soak everything in while I finish up getting dressed and style my hair.
Seveda se vse začne z jutranjim čiščenjem, ki ga opravim s kakšnim tekočim gelom (na primer Mirati, oceno si lahko prebereš *tu*), po tem pa nanesem tonik (na primer Bocassy, ocena *tu*) ter hialuronski gel. Sedaj je koža pripravljena, da lahko začnem rutino pred nanosom tekoče podlage. Prvi korak je vlaženje, ki ga opravim v treh fazah – začnem z Melvita cvetno vodico iz organske vrtnice, ki jo nekajkrat popršim po celem obrazu. Poleg super dišečega vonja, ki me še malo prebudi, je to prva faza vlaženja kože. Nadaljujem z zaščito pred soncem – trenutno je to Avonova vlažilna krema z SPF 30. Zaščita kože je nujna skozi celo leto, ne samo v poletnih mesecih, zato je potrebno v rutino vključiti vsaj en izdelek z dobrim SPF faktorjem (po mojem mnenju je faktor 10, s katerim se ponaša večina tekočih podlag, absolutno premalo). Ker se mi zdi Avonova vlažilna krema premalo hidratantna, na koncu nanesem še Yves Rocher Derma Care dnevno hranilno kremo, ki je primerna tudi za občutljivo kožo. Še posebej dobro navlažim tudi predel okrog oči, kar prepreči gubanje korektorja, ki ga bom nanesla kasneje. Nato koži privoščim nekaj minut, da vse vsrka vase, medtem pa se običajno do konca oblečem in uredim lase.

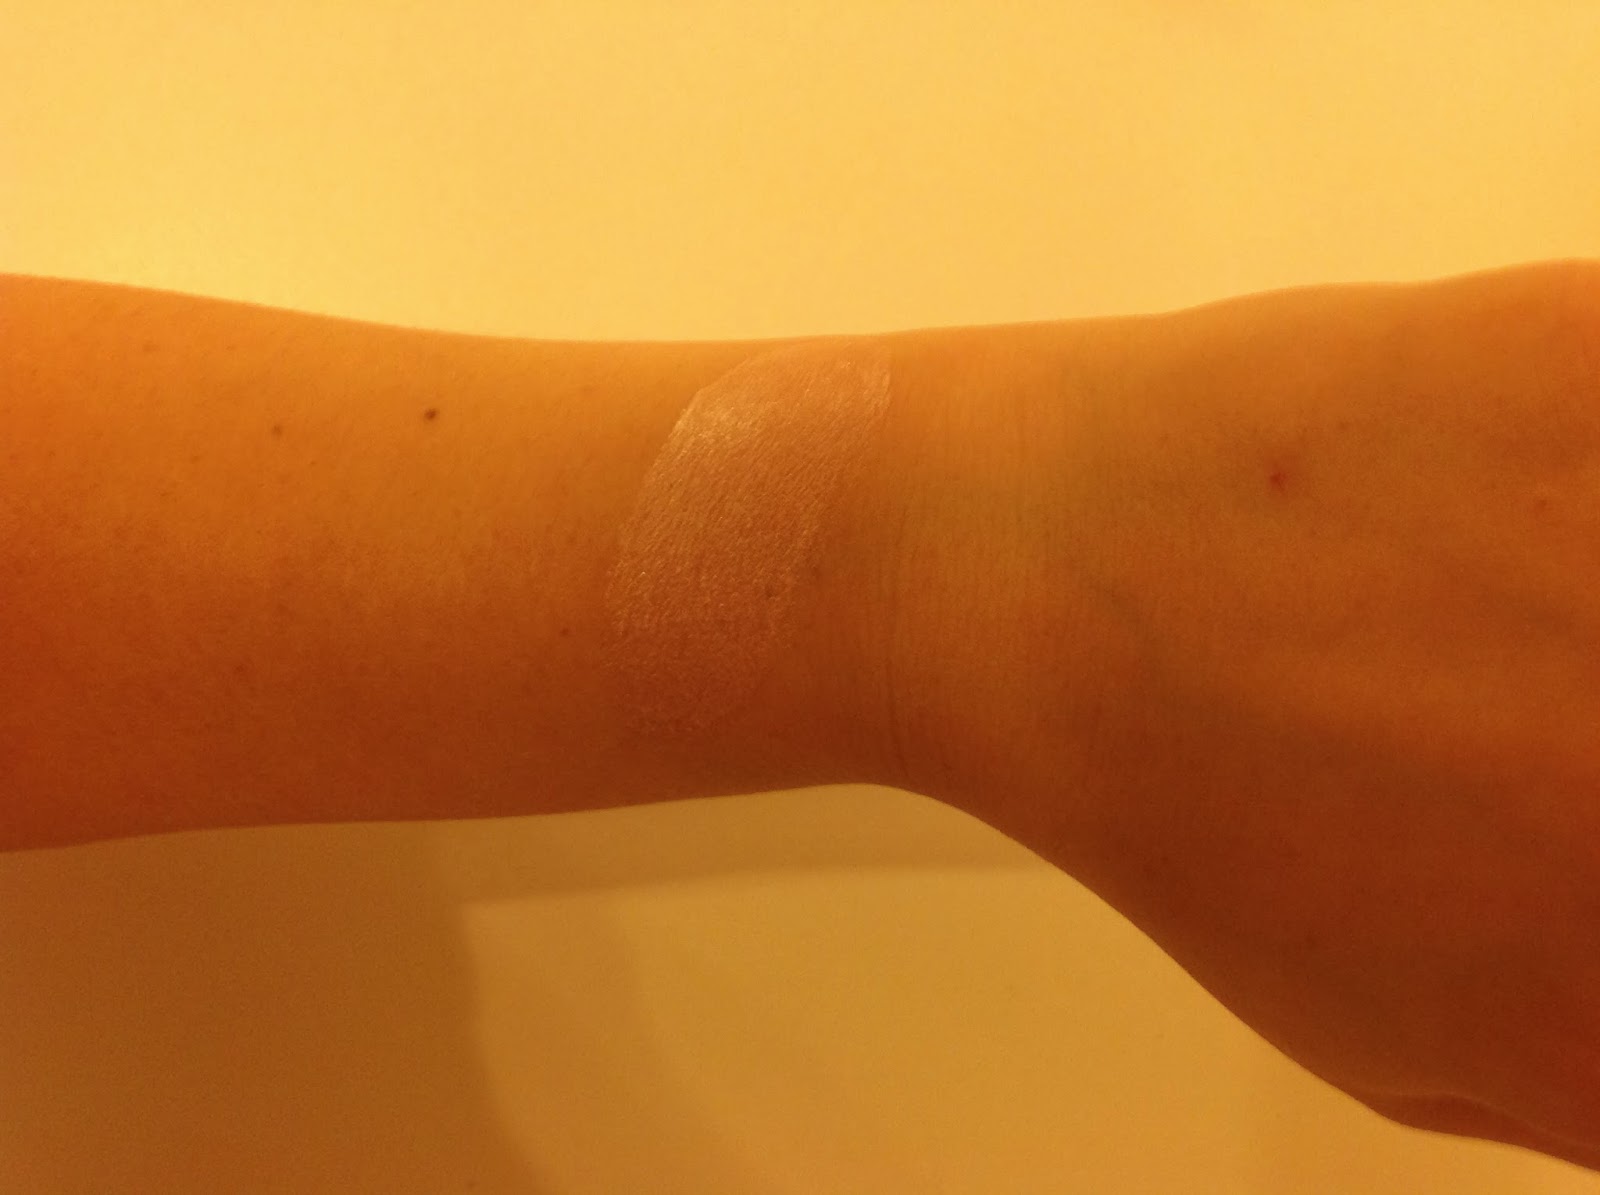
I want to emphasize that all of the following steps work on my skin which is well hydrated but I do struggle with some dry areas and some redness. I apply my products very precisely so I can target the problem areas and not put too many layers on my skin which would consequently make my foundation slide around. You need to take a good look at your skin, find your problems and then apply this particular routine to your face as you see fit. As you can see from the photo (which is not photoshopped at all, but I reduced the level of brightness so you can see my problems even better – a small applause is appreciated), the difference my routine makes is really noticeable.
Poudarila bi, da so vsi naslednji koraki prilagojeni moji koži, ki je sicer kar dobro navlažena, imam pa nekaj suhih predelov in nekaj rdečice. Zato zelo natančno nanašam izdelke, ki se bojujejo proti mojim težavam, saj ne želim preveč plasti na svojem obrazu, ker bi tudi tekoča podlaga posledično drsela naokrog in zdržala veliko manj časa. Sama zase moraš torej razmisliti in si ogledati svojo kožo, da boš lahko rutino, ki ti jo predstavljam, najbolje prenesla v svoj vsakdan. Kot lahko vidiš s fotografije (ki je nisem nič popravljala, samo zmanjšala sem svetlobo, da lahko še bolje vidiš nepravilnosti – prosim za majhen aplavz za pogum), je razlika pred in po rutini res opazna.

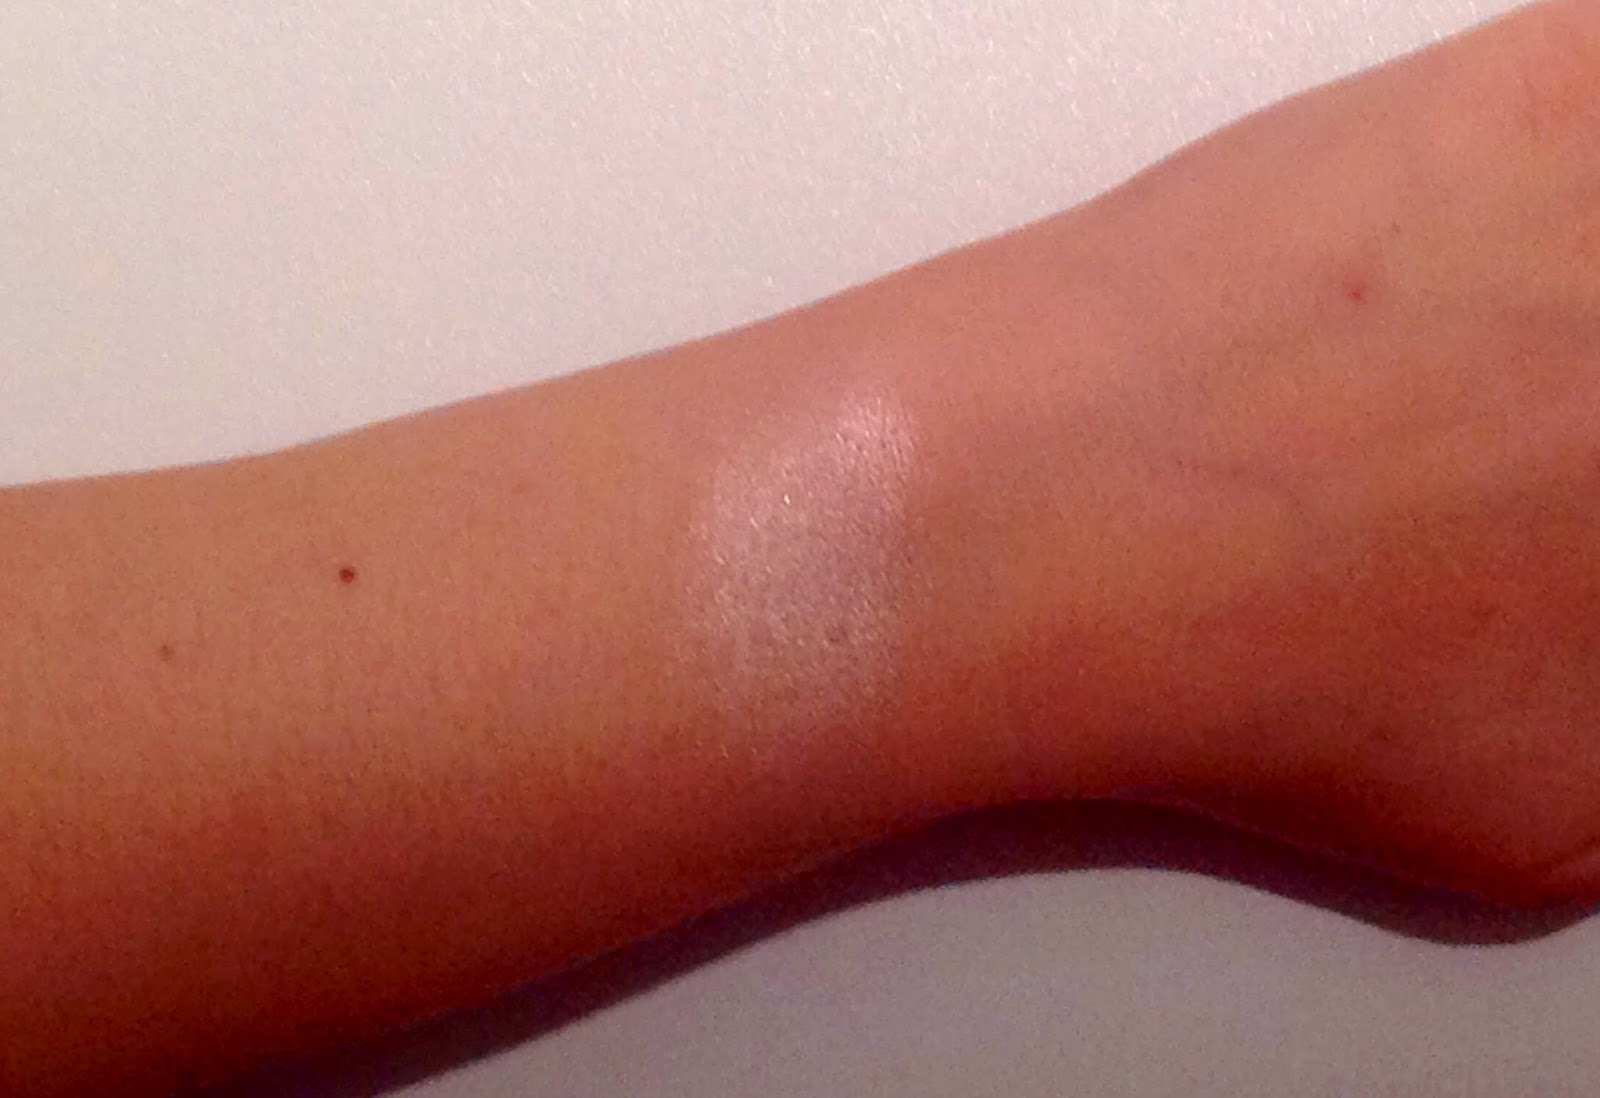
I start by covering my enlarged pores and creating a smooth canvas which will make foundation application much easier. I target my pores with Catrice Prime and Fine Smoothing refiner which fills up and blurs my pores. I apply The Ordinary High-adherence silicone primer to the rest of my face. This makes my skin much more smooth – read the whole review *here*.
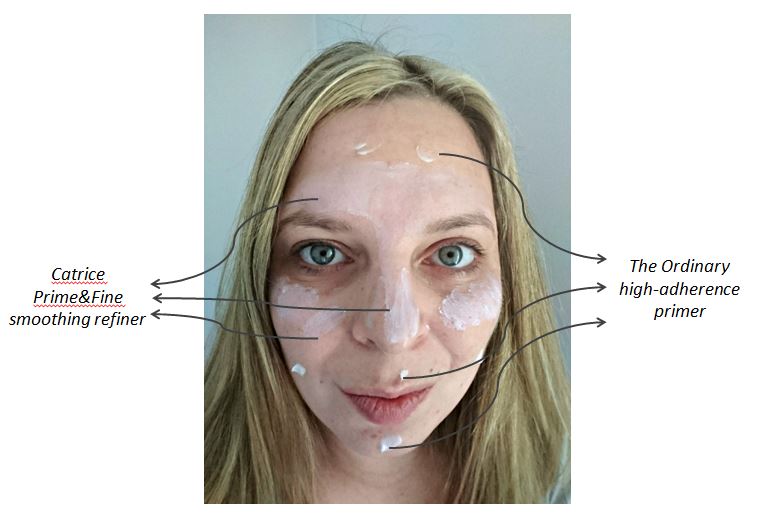
Začnem s prekrivanjem razširjenih por in ustvarjanjem gladke podlage, ki mi kasneje omogoči lep nanos tekoče podlage. Na področja, kjer imam razširjene pore, nanesem Catrice Prime and Fine Smoothing refiner, ki moje pore zapolni in jih lepo zabriše. Na preostanek obraza, kjer težav s porami, nanesem The Ordinary High-adherence silikonski primer, ki s tanko plastjo ustvari gladko in nežno kožo – celotno oceno si lahko prebereš *tu*.

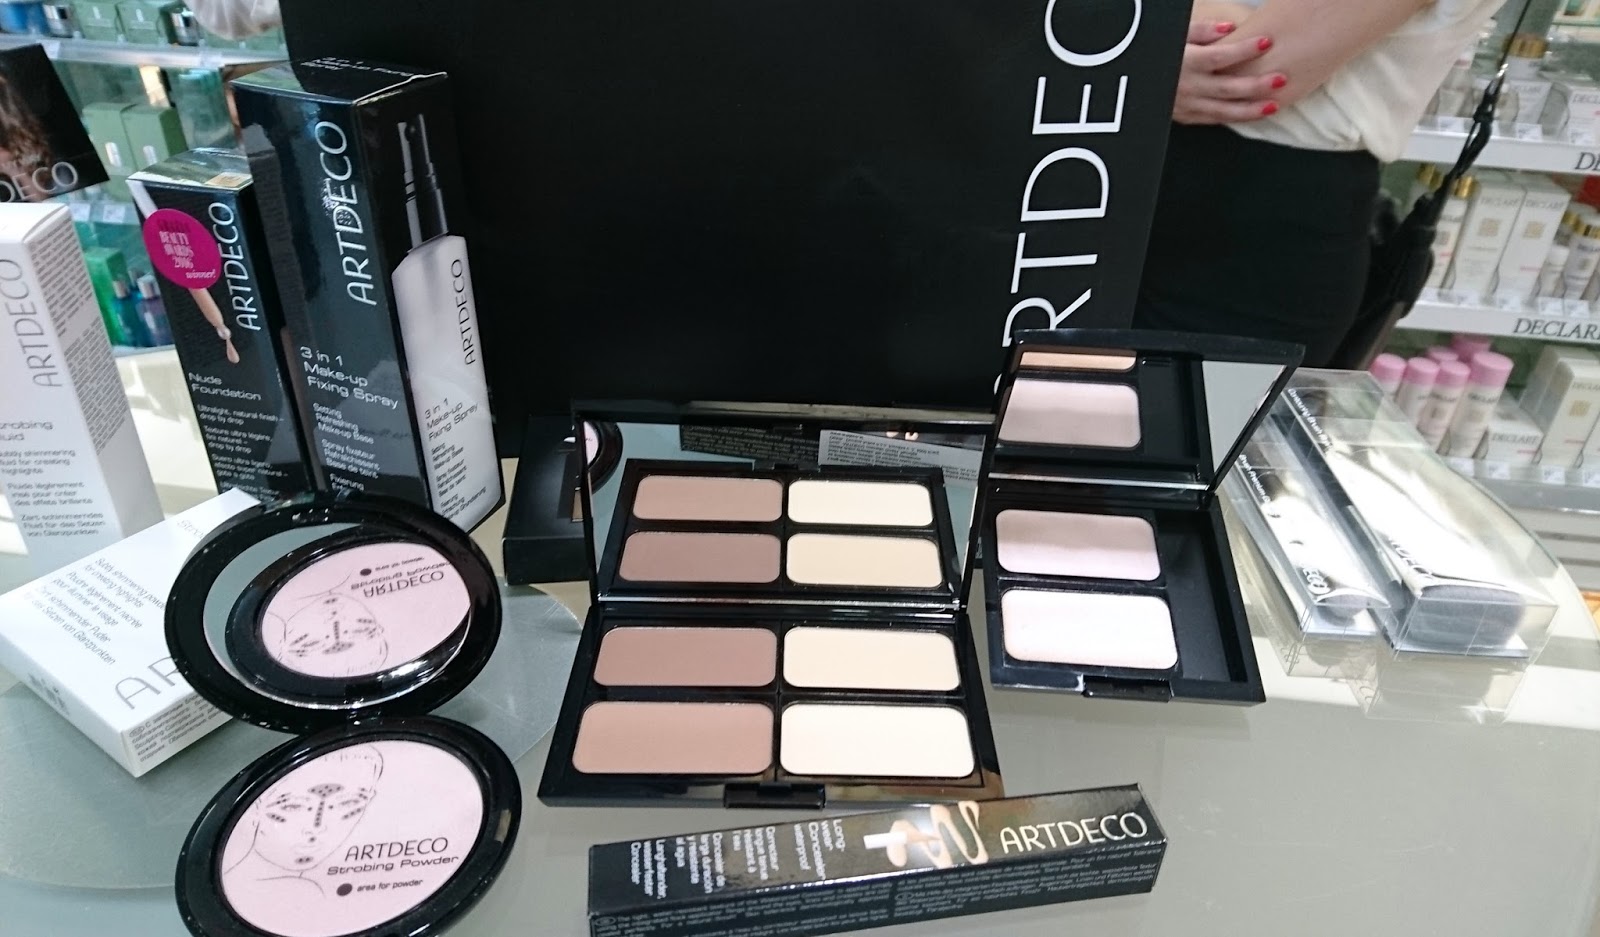
Last two steps are intended for covering up the last imperfections and making sure that my skin looks healthy and glowing. I use Etude House Baby Choux base – Mint Choux primer to neutralize the redness between my eyebrows, around my nose and on the chin. Mint Choux has a green tint to it so it neutralizes the red undertone, but you can choose the color that will help your particular imperfections. There are many color correctiong products on the market right now. Last but not least, I apply Artdeco Strobing Fluid to the areas where I want to add some natural glow to the skin – on my cheekbones, above my eyebrows and on the bridge of the nose. It took me some time to figure out how best to use the strobing fluid. It’s not a highlighter since it doesn’t contain any shimmery pigment, but only gives a subtle, barely noticeable glow to the skin.

Ostaneta le še zadnja dva koraka, v katerih prekrivam zadnje nepravilnosti in tudi že poskrbim, da bo moja koža res svetleča in zdrava. Z Etude House Baby Choux Base – Mint Choux primerjem nevtraliziram rdečico, ki se mi pojavi med obrvmi, okrog nosu in na bradi. Mint Choux je zelene barve, zato dobro nevtralizira rdeče podtone, seveda pa se lahko glede na svoje težave odločiš tudi za drugo barvo. Tudi na slovenskem trgu je sedaj takšnih izdelkov že zelo veliko. Nazadnje Artdeco Strobing Fluid nanesem na področja, kjer želim svoji koži dodati nekaj naravnega sijaja – na ličnice, nad obrvi ter vzdolž nosu. Potrebovala sem kar nekaj časa, da sem ugotovila, kako ta strobing fluid najbolje deluje zame – ne gre namreč za osvetljevalec, saj ne vsebuje svetlečih pigmentov, ampak samo za nežno žarečo tekočino, ki je na koži komaj opazna.
The entire routine takes up between 5 to 10 minutes, largely depending on how much time I can afford to the moisturizers from step one to really soak into the skin. Every single fundation I have tried works better on a skin that is well prepped, it applies easier and more evenly, doesn’t stick to dry patches, doesn’t slide off the face and doesn’t look unnatural. You will achieve the best result by using fresh, light foundations – the results won’t be as good with matte formula. Recently, I’ve been loving the Rimmel Fresher Skin liquid foundation – for a whole review, head over to Simona to Beauty of a Lemon blog where you can see that particular product in detail.
Celotna rutina mi vzame med 5 in 10 minut, odvisno predvsem od tega, koliko časa lahko namenim vlažilcem iz prvega dela, da se dobro vpijejo v kožo. Prav vsaka tekoča podlaga, ki sem jo preizkusila, se na tako pripravljeni koži obnaša lepše, saj se nanese lažje in bolj enakomerno, ne oprime se suhih predelov, ne zdrsi z obraza in ne izgleda nenaravno. Seveda boš najboljši učinek dosegla z lažjimi, svežimi podlagami – z mat podlago rezultat ne bo tako dober. Zadnje čase sama veliko uporabljam Rimmel Fresher Skin tekočo podlago – za oceno te pošiljam k Simoni na blog Beauty of a Lemon, kjer si lahko delovanje podlage ogledaš bolj natančno.
I hope that this post will help you in putting together a routine that will work for your skin and help you achieve the look you want. I’d love to hear your opinion about it! Until next time, stay beautiful!
Upam, da sem ti s tem zapisom pomagala in boš lažje sama sestavila rutino, ki bo ustrezala tvoji koži in ti podarila videz, kot si ga želiš. Z veseljem bi slišala tvoje mnenje! Do naslednjič, ostani čudovita!